
These days, the process of reinstalling Windows is quite seamless, especially for enterprises. However, it does take some time and effort, making it a tedious task. For individuals, it is also a financial headache because reinstalling Windows means having to purchase it once more. Plus, this would mean that you would lose all your programs and your computer would resurface as a new one with no previous memory.
If you can avoid this process while upgrading your motherboard, wouldn’t you go for it? Of course, you would.
Is it possible to upgrade motherboard without reinstalling Windows?
Yes, it is. While you may have to take a few extra steps to do this in the case of Windows Vista, XP, and Windows 8, Windows 10 is a piece of cake. It will recognize the upgrade and stay put without forcing a re-installation out of you.
Now, let’s see what you should do if you have an older version.
How to Upgrade Motherboard Without Reinstalling Windows?
Windows need to know that it is supposed to use the SATA hard disk controller driver when you reboot it. This will help you keep all your settings and programs intact even after you upgrade. Let’s see how to do this:
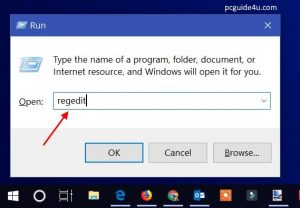
1. Boot Windows and then press Windows + R keys together. When the Run dialog box opens up, just type regedit and click on OK. This will open up the Windows Registry Editor.
2. The Registry Editor will have a number of option but what you are looking for is called msahci or StorAHCI (based on your Operating System).
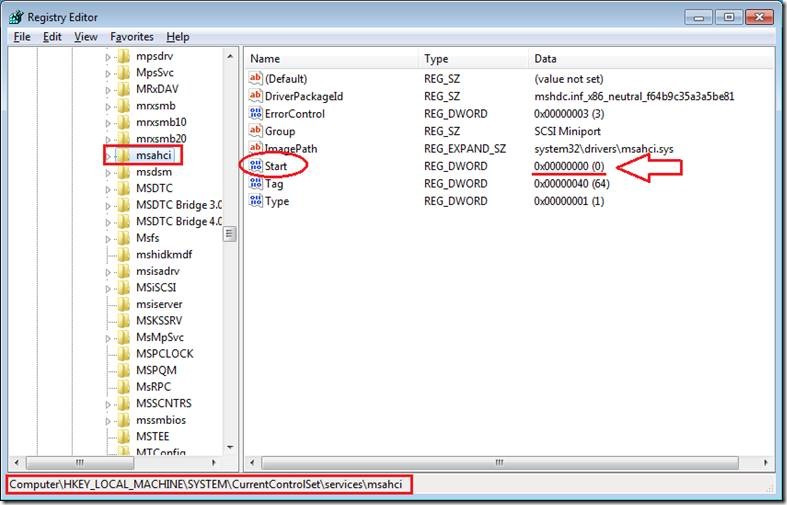
3. When you click on whichever option is available, you will see a new set of options to the right. Double Click on Start.
4. Another dialog box will open now. Here, you should change the value data to 0 and then Enter or press OK to finish.
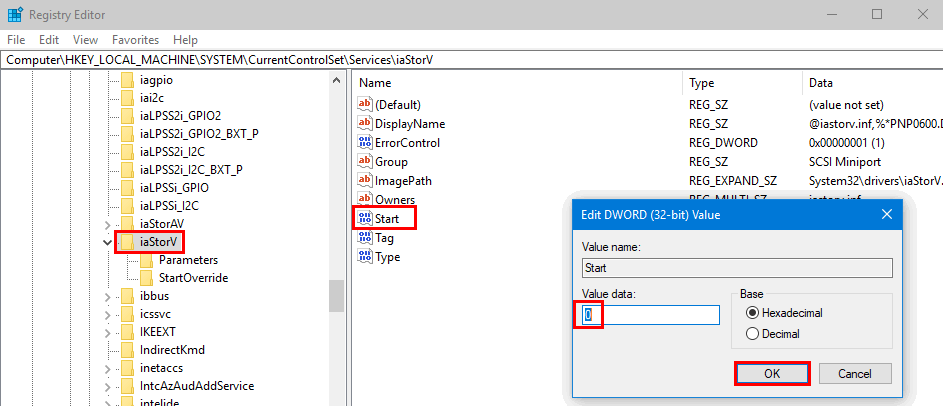
5. Follow the same instructions for another key called pciide.
6. Your job is done. Close the Windows Registry Editor.
That’s it, really. After this, you can start upgrading your motherboard. After the upgrading process, Windows will boot normally, having saved all your settings and programs. At this point, you can either edit your BIOS settings or leave them as they are, depending on your preferences.
Install all the drivers that you need for your new motherboard and you are set.
Does this look easy? Well, it is! Some people just ignore the process because they think it is tedious, but hey, it is a breeze especially when compared to the trouble that comes with the reinstallation of Windows!
We hope this tutorial helped you. We would love to hear your reviews and thoughts after having followed the process. Don’t forget to leave a Comment!